Unlocking the Secrets of Seamless Drywall Installation with Dino's Drywall Apr 16, 2026
When it comes to home improvement projects, one of the most pivotal yet often overlooked aspects is drywall installation. Proper drywall installation not only enhances the aesthetic appeal of your interiors but also provides essential structural support. At Dino's Drywall, we understand the importance of a seamless finish, and we're here to share insider tips on achieving picture-perfect drywall. Whether you're a DIY enthusiast or prefer to hire professionals, these insights will guide you to achieve flawless results.
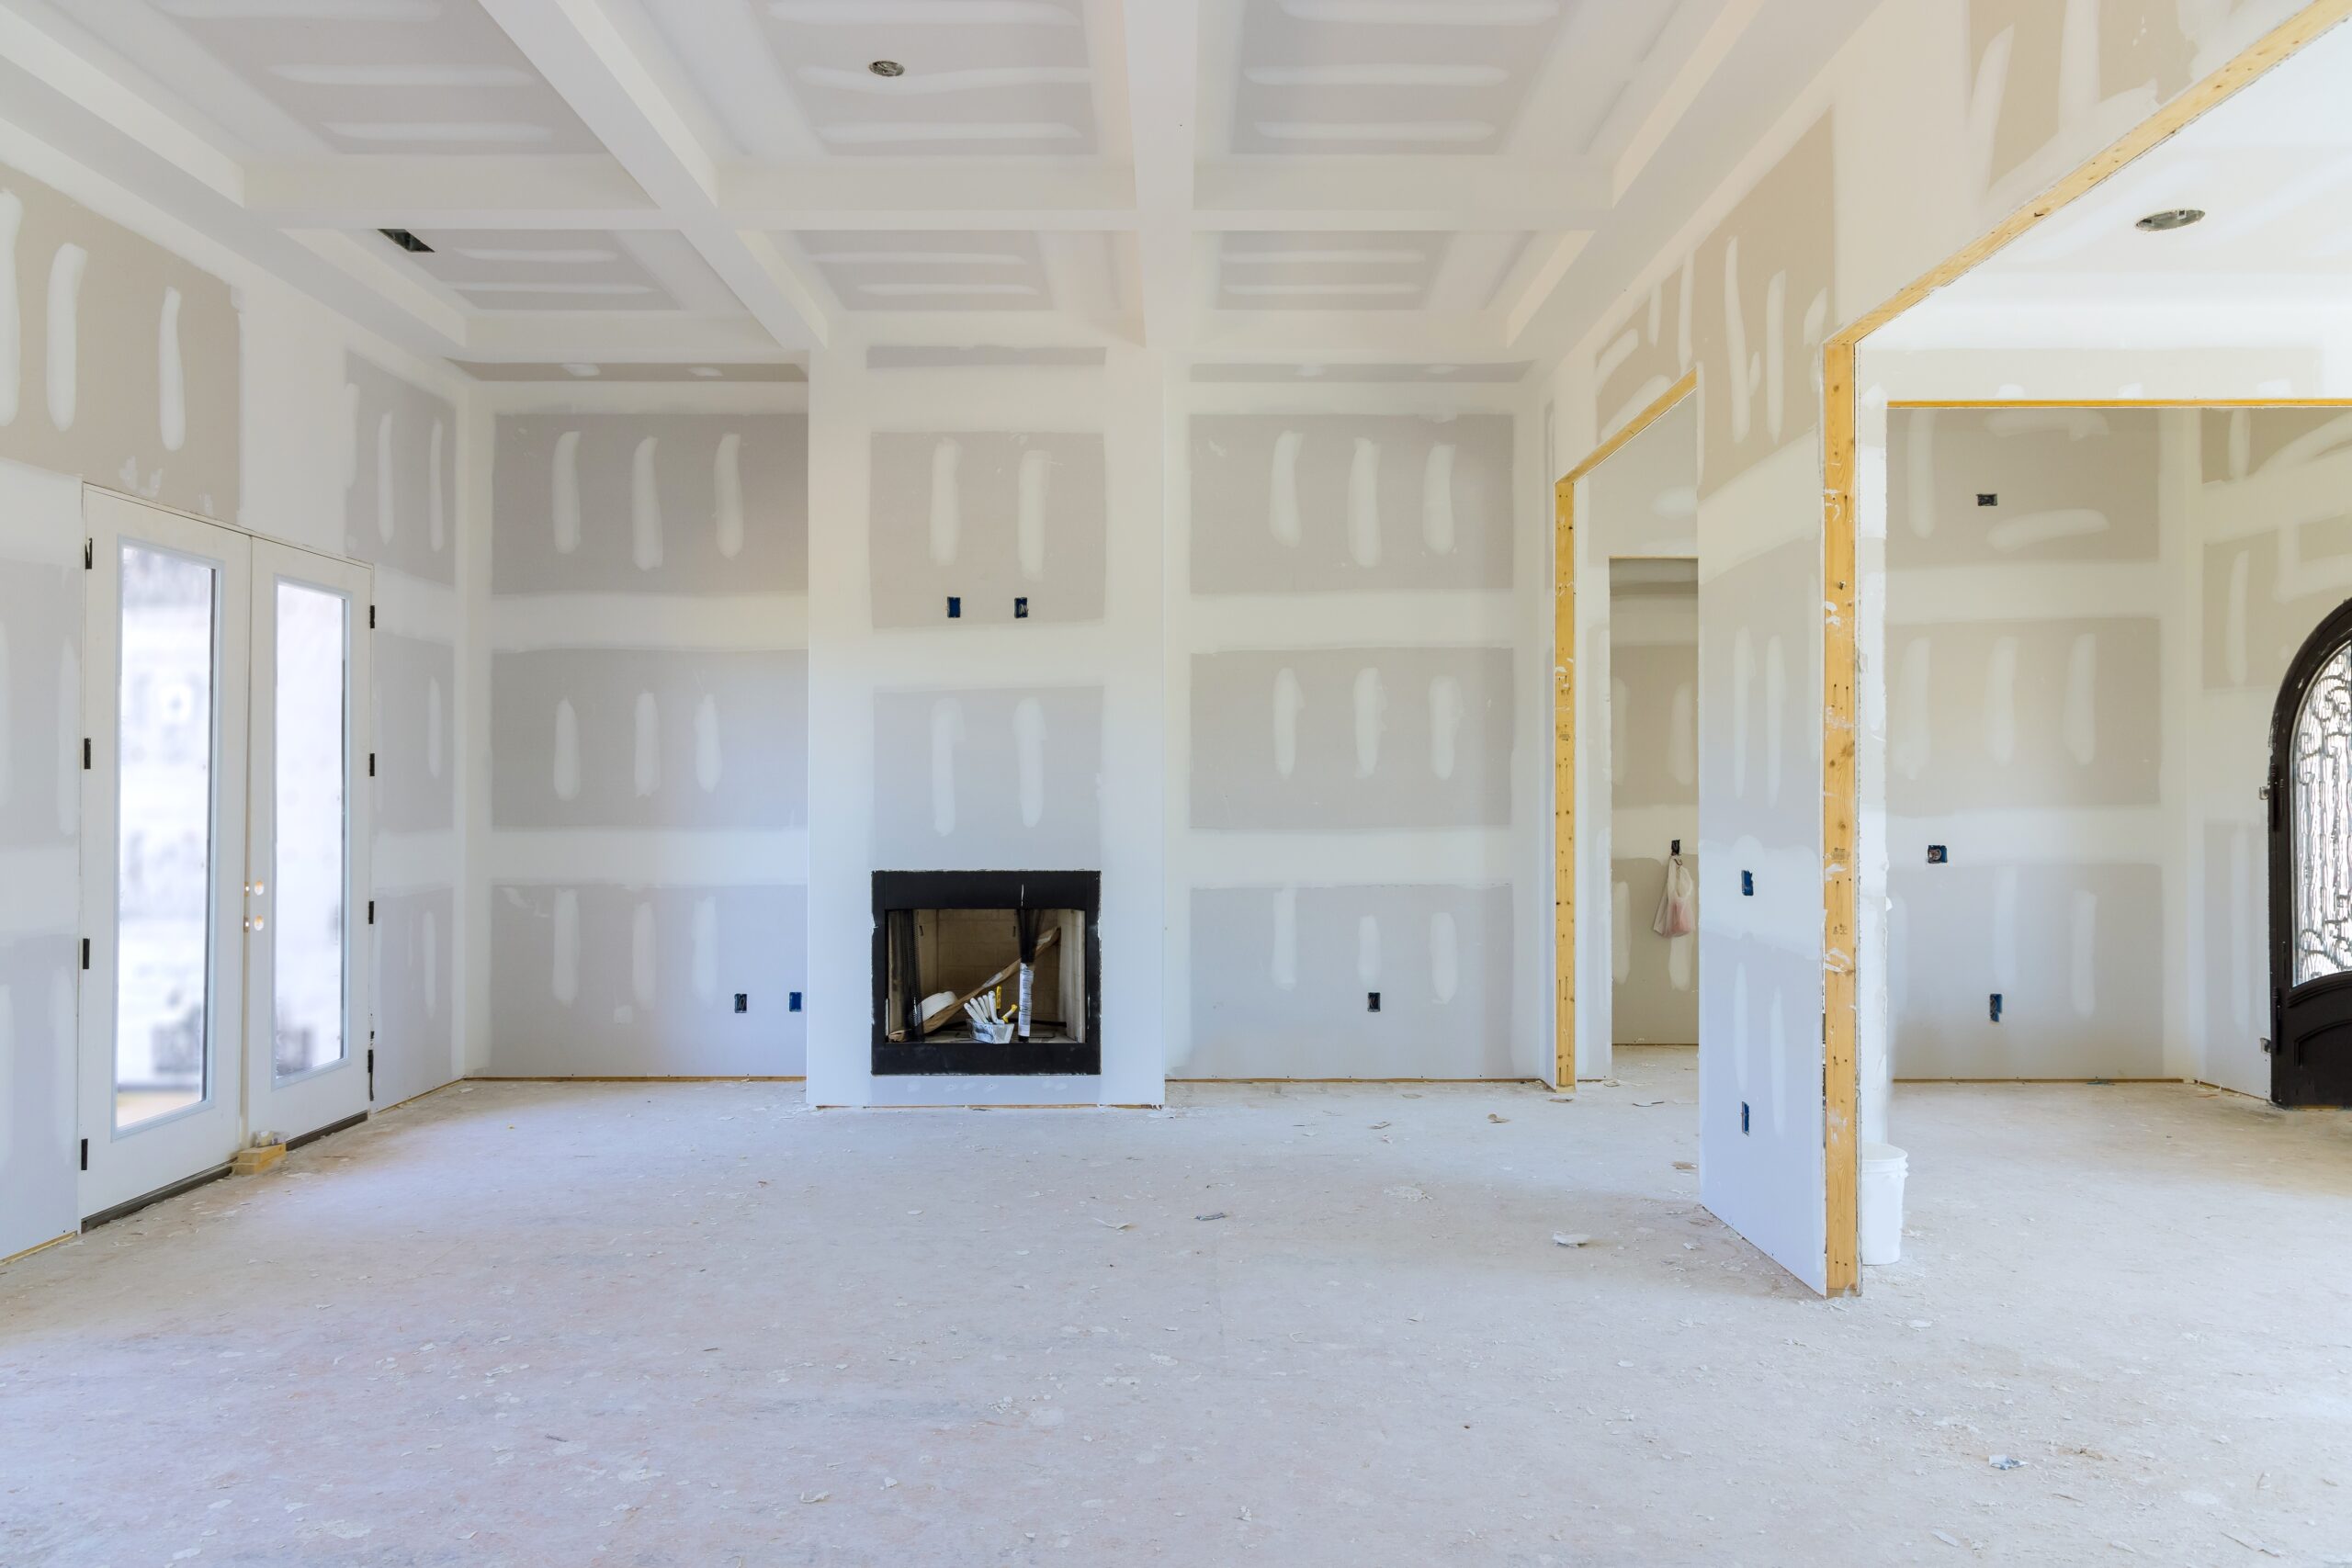
The process of drywall installation begins with selecting the right materials. At Dino’s Drywall, we recommend choosing high-quality drywall panels that suit your specific needs, whether they are lightweight options or moisture-resistant varieties for areas like bathrooms and kitchens. After selecting the appropriate drywall, the next crucial step is accurate measurement and cutting. Precision is key; ensure each panel is cut to fit the designated space snugly to minimize the need for excess joint compound.
Once your drywall panels are ready, the next step is installation. Align each panel carefully, ensuring they are attached securely to the wall studs. This involves using appropriate fasteners and spacing them correctly to prevent sagging or shifting. For a seamless appearance, it's crucial to stagger the panels rather than aligning them end to end, reducing the likelihood of visible seams.
The real secret to achieving a flawless drywall installation lies in the joints. Proper taping and mudding are paramount to creating that smooth, uninterrupted finish. Begin by applying a thin layer of joint compound along the seams, embedding drywall tape into the compound while ensuring it's wrinkle-free. A second coat, wider than the first, will further smooth over the joints. Sanding between coats is necessary to remove any ridges. This process may need to be repeated until the surface is perfectly level.
For those wanting to ensure impeccable results, investing time in sanding is vital. This step cannot be rushed if you're aiming for professional-grade smoothness. Use fine-grit sandpaper for the final pass to ensure the surface is ready for priming and painting.
Now, let’s talk about the finishing touches. Priming the drywall is an essential step before painting. It seals the surface, providing a uniform base for paint, enhancing its adhesion, and preventing uneven color absorption. Choose a primer that complements your final paint choice, and apply it with smooth, even strokes using a roller or sprayer.
As you progress to the final step, consider the type of paint finish. Whether you opt for a matte, eggshell, or glossy finish, each will impact the room’s ambiance and requires varying levels of maintenance. Our experts at Dino’s Drywall are always available for consultation to help you choose the perfect finish for your space.
In conclusion, achieving a seamless drywall installation is not just about following steps but understanding the importance of each phase. From selecting appropriate materials to mastering the art of taping and mudding, each step plays a vital role in the final outcome. At Dino’s Drywall, we pride ourselves on enhancing homes with precision and care. Whether you're tackling the installation yourself or hiring professionals, following these tips will ensure your drywall project is executed with excellence. For projects big or small, remember that Dino’s Drywall is here to transform your spaces into beautiful, durable, and expertly finished interiors.
/filters:no_upscale()/filters:format(webp)/media/df2c6408-2f57-49da-b511-eef1a3e7a5a4.jpeg)